
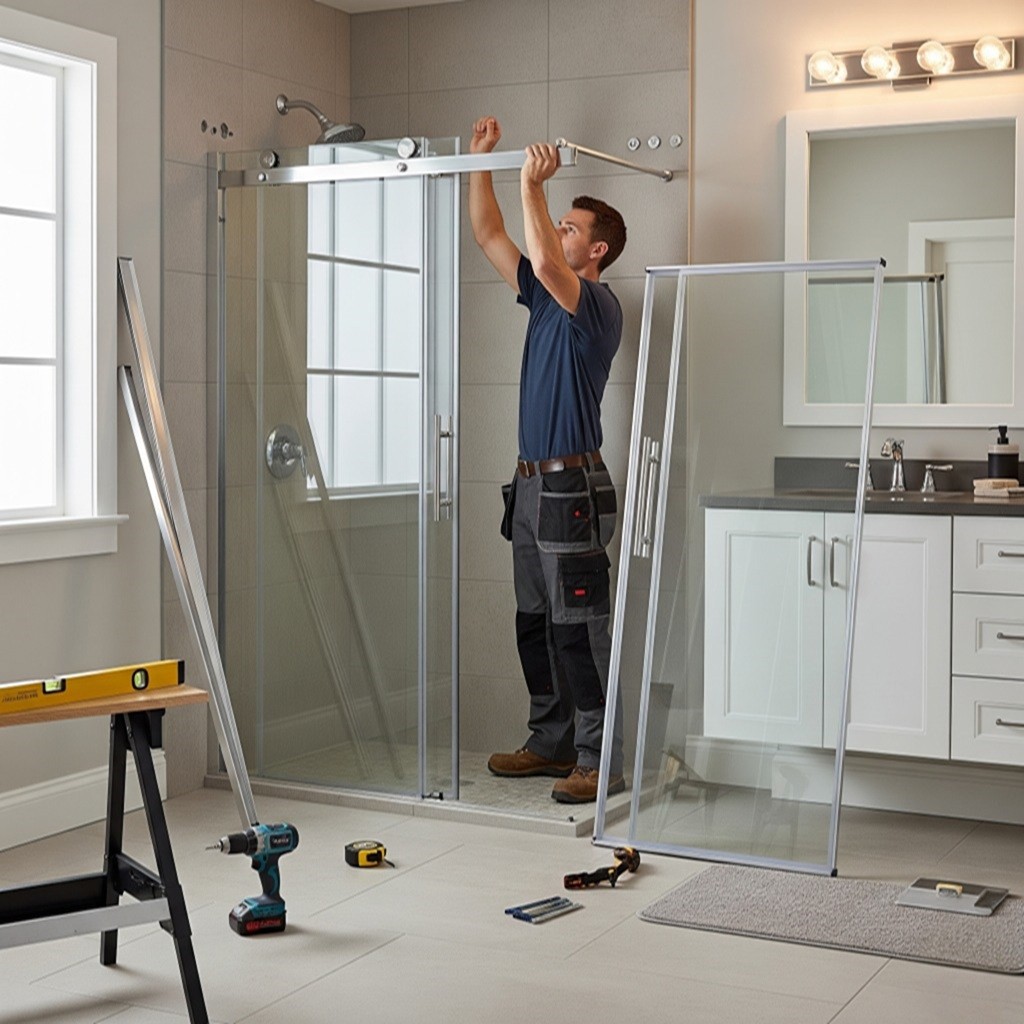
Tired of looking at that dated, grimy, or broken sliding shower door? Replacing it is one of the most effective ways to give your bathroom a modern facelift without a full remodel. While it might seem like a job for a professional, replacing sliding shower doors is a very manageable DIY project for most homeowners with basic tools and a bit of patience.
This comprehensive guide will walk you through every step of the process, from removing the old unit to sealing the new one for a leak-proof finish.
Why Replace Your Sliding Shower Doors?
Before we grab the tools, let’s confirm why a replacement is a great idea:
- Updated Aesthetics: Swapping old, framed doors for a sleek, frameless or semi-frameless design can instantly modernize your entire bathroom.
- Improved Functionality: Old doors often stick, squeak, or jump off their tracks. New doors glide smoothly and quietly.
- Easier Cleaning: Modern doors often feature treated glass that repels water spots and soap scum, making cleaning much simpler.
- Fixing Leaks: Worn-out seals on old doors can lead to leaks and water damage. A new installation ensures a watertight barrier.
Should You DIY or Hire a Pro?
This is a key question. Consider your comfort level and the project’s scope.
Consider DIY If… | Hire a Pro If… |
You are replacing a standard-sized, off-the-shelf kit. | You need a custom-sized door for a unique opening. |
You are comfortable with basic tools like a drill & level. | The walls or shower pan are significantly out of plumb. |
You have a helper to assist with lifting heavy glass panels. | You are installing heavy, frameless glass doors. |
Your budget is a primary concern. | You have no time or prefer a professional warranty. |
Tools and Materials Needed
Gathering everything beforehand makes the process much smoother.
For Removal:
- Utility knife or caulk removal tool
- Putty knife or plastic scraper
- Drill or screwdriver (usually a Phillips head)
- Safety glasses and work gloves
- Old towels or a drop cloth
For Installation:
- Your new sliding shower door kit (includes doors, tracks, hardware)
- Drill with appropriate bits (tile/masonry bit if drilling into tile)
- Level (a 24-inch or 48-inch level works best)
- Tape measure
- Pencil or marker
- Hacksaw (if tracks need to be cut to size)
- Rubber mallet
- Caulk gun
- Painter’s tape
Materials:
- 100% Silicone caulk (kitchen and bath formula, mold-resistant)
- Denatured alcohol or mineral spirits for cleaning
- Rags or paper towels
The Step-by-Step Guide to Your Shower Door Replacement
Follow these steps carefully for a professional-looking result. Always read the manufacturer’s instructions included with your new door kit, as details may vary slightly.
Step 1: Remove the Old Shower Doors
Removing the old unit is the first hurdle. Work slowly and methodically to avoid scratching your tub or breaking any glass.
Step-by-Step Removal:
- Lift Out the Doors: Most sliding doors hang from rollers on a top track. To remove them, lift each door panel straight up and swing the bottom edge out toward you. It may take some wiggling to disengage the rollers.
- Remove Interior Hardware: Unscrew any hardware inside the shower, like the center door guide or any bumpers.
- Disassemble the Frame: The metal frame is typically installed in three or four pieces.
- Top Track: This piece usually rests on the side jambs and can be lifted off once the doors are gone.
- Side Jambs: Find the screws holding the two vertical side jambs to the walls. Remove them with a drill or screwdriver.
- Bottom Track: After cutting the caulk seal (see below), this track can often be gently pried up with a putty knife.
Safety Tips:
- Wear Protection: Always wear safety glasses and work gloves. Tempered glass can shatter into many small pieces if broken.
- Protect Your Tub: Lay a thick blanket or drop cloth in the bottom of your shower or tub to prevent scratches from dropped tools or frame pieces.
- Get a Helper: Glass doors are heavy and awkward. Have a second person help you lift and carry them away safely.
Step 2: Clean & Prep the Shower Area
This is the most crucial step for achieving a waterproof seal. Do not rush it.
- Remove Old Caulk: Use a utility knife or a specialized caulk removal tool to slice through the old silicone where the frame met the walls and shower base. Once the frame is gone, use a plastic scraper or putty knife to peel and scrape away all remaining caulk. For stubborn residue, use a commercial caulk remover.
- Deep Clean the Surfaces: After scraping, clean the walls and shower base with denatured alcohol or mineral spirits on a rag to remove any soap scum, oils, and leftover adhesive. The surfaces must be perfectly clean and completely dry before you proceed.
- Check and Level the Base: Place your level on the shower threshold (the curb or base where the bottom track will sit). Most thresholds have a slight slope into the shower for drainage. Note any significant high or low spots, as your new door’s installation guide may require shims for a level installation.
Step 3: Install the New Track & Frame
With a clean slate, it’s time to build the new frame. Always consult the specific instructions included with your new door kit.
- Measure and Cut the Tracks: Measure the wall-to-wall distance along the shower base. Use a hacksaw to cut the new bottom track to this exact length. Repeat this process for the top track, measuring between where the top of the side jambs will be.
- Position and Drill for Side Jambs: Place the bottom track in position (do not secure it yet). Place a side jamb into the track and hold it against the wall. Use a level to ensure it is perfectly plumb (vertically straight). Mark the screw hole locations on the wall with a pencil. Repeat for the other side.
- Secure the Frame:
- Side Jambs: Remove the jambs and drill pilot holes on your marks. If you are drilling into tile, use a special glass-and-tile drill bit to avoid cracking. Insert any necessary wall anchors. Secure both side jambs to the walls with the provided screws.
- Bottom Track: Apply a thin bead of 100% silicone caulk to the underside of the bottom track. Carefully press it into place between the two secured side jambs.
- Top Track: Rest the top track onto the side jambs and secure it according to your kit’s instructions.
Step 4: Hang & Adjust the New Doors
This is the rewarding part where your project starts to look like a finished shower door.
- Install the Rollers: Attach the roller assemblies to the top of each glass door panel as shown in the manual. Do not fully tighten them yet, as you will need to adjust them.
- Hang the Doors: With your helper, lift one door at a time and hook the rollers onto the top track. The instructions will specify which door (inner or outer) to hang first.
- Check for Smooth Sliding: Gently slide the doors back and forth. They should glide easily without scraping or catching.
- Adjust for Proper Alignment: Close the doors. Check the alignment against the side jambs. The gap should be even from top to bottom. If a door is crooked, adjust the rollers up or down until it hangs perfectly straight. Once aligned, tighten the roller screws completely.
- Install Hardware: Attach the handles and any interior guides or bumpers that came with your kit.
Step 5: Seal & Finish
Proper sealing is the final, critical step to prevent leaks and water damage.
- Apply Exterior Caulk: Using a caulk gun, apply a neat, continuous bead of 100% silicone caulk only along the outside of the frame—where the side jambs meet the walls and where the bottom track meets the shower base.
- Leak Prevention Tip: Never caulk the inside of the frame. Shower door tracks are designed with weep holes that allow water to drain back into the shower. Sealing the inside traps water, leading to mold, mildew, and leaks.
- Smooth the Bead: For a clean finish, smooth the caulk bead with a wet finger or a caulk finishing tool immediately after applying.
- Cure and Clean: Let the caulk cure for at least 24 hours (or as directed) before using the shower. For initial cleaning, use a soft cloth with mild soap and water. Avoid abrasive cleaners which can damage the frame finish or glass coating.
Common Mistakes to Avoid
- Wrong Measurements: “Measure twice, cut once” is the golden rule. Cutting a track too short is an unfixable mistake.
- Misalignment from the Start: Not using a level to ensure the side jambs are perfectly plumb. If they are crooked, the doors will never hang or close properly.
- Improper Caulking: Sealing the inside of the track is the most common DIY error. It traps water and guarantees future problems.
- Not Cleaning Surfaces: Any remaining old caulk or soap scum will prevent the new sealant from adhering properly, leading to leaks.
- Overtightening Screws: Overtightening screws can crack tile or strip the screw holes. Tighten until snug, but don’t use excessive force.
Cost Estimate & Time Needed
- DIY:
- Cost: $250 – $800+ for an off-the-shelf sliding door kit.
- Time: 3-5 hours for a first-time DIYer. An experienced person can do it in 2-3 hours.
- Hiring a Professional:
- Cost: $500 – $1,500+, which includes the cost of the door kit and labor charges.
- Time: A professional can typically complete the installation in 1.5-2.5 hours.
Frequently Asked Questions (FAQ)
Q: What is the best type of caulk to use for a shower door? A: Always use a high-quality, 100% silicone caulk that is specifically formulated for kitchens and baths. These products are waterproof, flexible, and contain mildewcide to prevent mold and mildew growth in the damp environment of a bathroom.
Q: My shower walls aren’t perfectly straight. Can I still install a new door? A: Most modern shower door kits have some built-in adjustability to account for walls that are slightly out of plumb (not perfectly vertical). The side jambs can often compensate for a variance of up to 1/2-inch. Check the specifications of the kit you plan to buy. If your walls are severely out of plumb, you may need to consult a professional.
Q: Do I need special tools to drill into tile? A: Yes. To avoid cracking your tile, you must use a drill bit designed for glass and tile or a diamond-tipped masonry bit. Start drilling at a very slow speed to create a small starting divot, and apply steady, gentle pressure. Some people find it helpful to apply a piece of masking tape to the tile first to prevent the bit from wandering.
Q: How do I know what size door to buy? A: First, measure the finished width of your shower opening from wall to wall at both the top and the bottom. Use the smaller of the two measurements. Next, measure the required height, which is typically from the top of the shower curb (threshold) to the top of your tile or fiberglass surround. Your new door kit must fit within this width and height range.
Q: Can I trim the glass panels if they are too big? A: No. Shower doors are made from tempered glass, which is a type of safety glass. It is designed to shatter into small, blunt pieces upon impact and cannot be cut, drilled, or trimmed after it has been tempered. Doing so will cause it to explode. You must buy a door kit that is sized correctly for your opening.
Final Thoughts
Replacing your sliding shower door is a project that delivers a huge visual and functional reward for a modest investment of time and money. While it demands careful attention to detail, it is well within the reach of a determined DIYer.
The true keys to success are not in the most complicated steps, but in the preparation. Take your time cleaning off every last bit of old caulk, double-check that your vertical jambs are perfectly plumb with a level, and be patient when sealing the frame. By following these steps and avoiding the common pitfalls, you won’t just be installing a new door—you’ll be adding lasting value and a touch of modern style to your bathroom.